
What is Google Tag Manager and How it Works?

What is Google Tag Manager?
Google Tag Manager is a free tool that allows you to manage and deploy marketing tags (tracking pixels or snippets of code) on your website or mobile app without the need to alter the website’s code. Here’s a basic example of how Google Tag Manager functions (Data from one source {your website} is transferred to another source {like Google Analytics} via Google Tag Manager). GTM is especially useful when you have numerous tags to manage since it stores all the code in one centralized location. In this guide, we will talk about what Google Tag Manager is and how it works.
What Is Google Tag Manager Used For?
Google Tag Manager is a marketing tag management and deployment tool that does not require changing the underlying code on your website.
It makes it easy to integrate with other marketing tools and platforms, such as:
- Google Analytics
- Google Ads
- Hotjar
- CRM Platforms
Using GTM, you can track almost any type of event or user action, including:
- Link clicks
- Button clicks
- Form submissions
- Conversions
- Shopping cart abandonment
- Adding/removing items from the cart
- File downloads
- Scroll behavior
- Video views
- Call-to-action (CTA) performance
- Table of contents (TOC) clicks
- Custom events
Because of its intuitive interface and in-built security capabilities, GTM minimizes the need for developers and plugins, allowing for easier implementation and management of tracking codes.
Related topics you may enjoy:
How Does Google Tag Manager Work?
Google Tag Manager (GTM) allows marketers and product managers to track user behavior without writing code. GTM does this by using three main components:
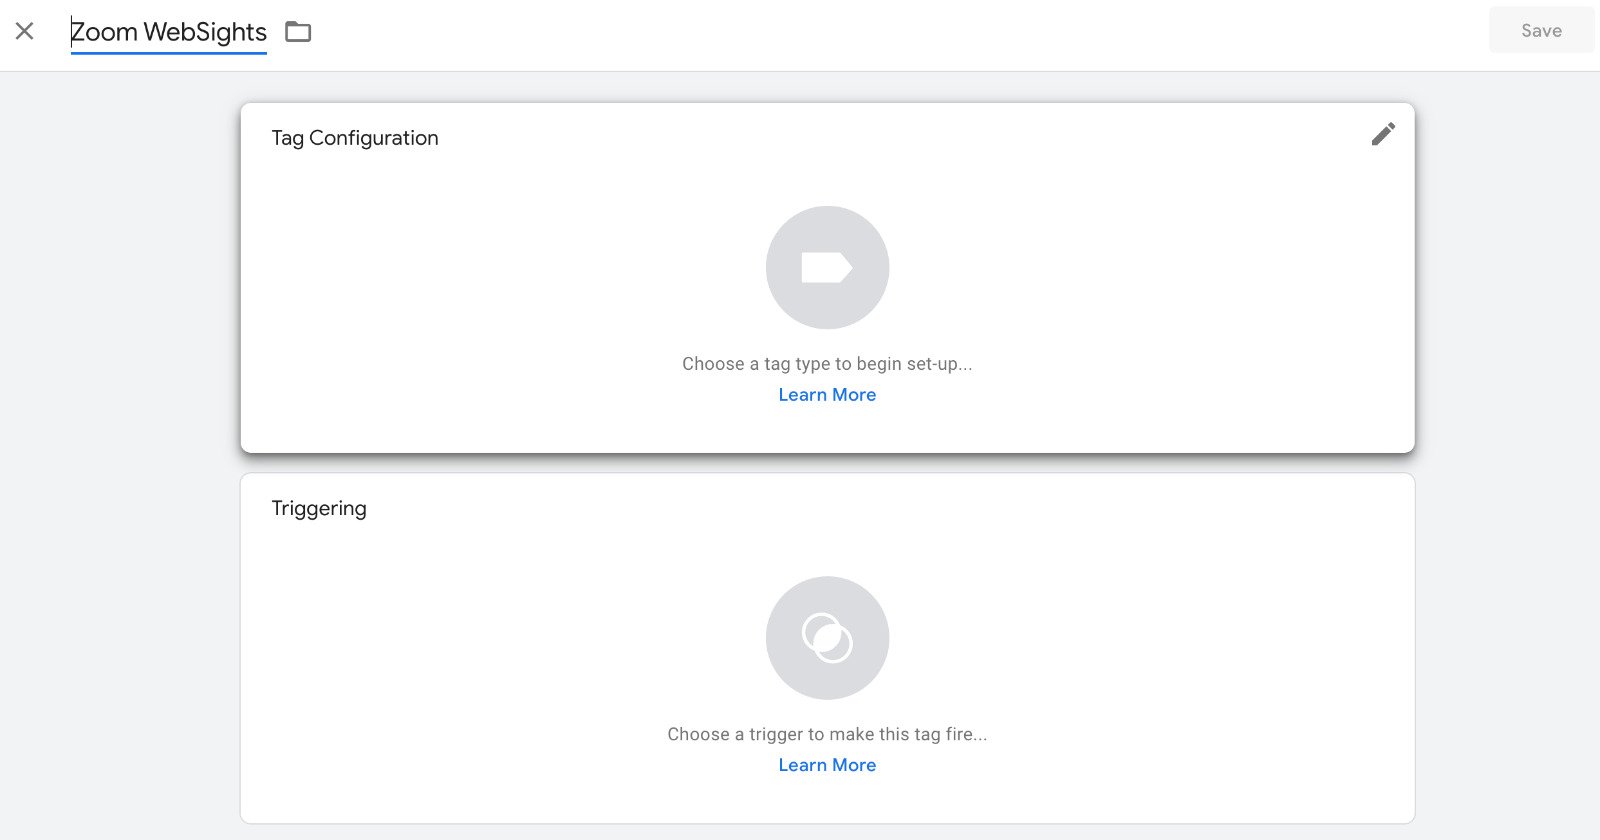
Tags
Tags are snippets of code or pixels that track third-party tools. These tags instruct GTM to take action.
Some common examples of tags in GTM are:
- Microsoft clarity
- HubSpot tracking code
- Zoom WebSights
- Capterra
- G2
- GA4 tag
- AdWords Remarketing code
- AdWords Conversion Tracking code
- Heatmap tracking codes (Hotjar, CrazyEgg, etc.)
- Facebook pixels
- Custom HTML scripts
- Cookiebot and other GDPR data privacy scripts
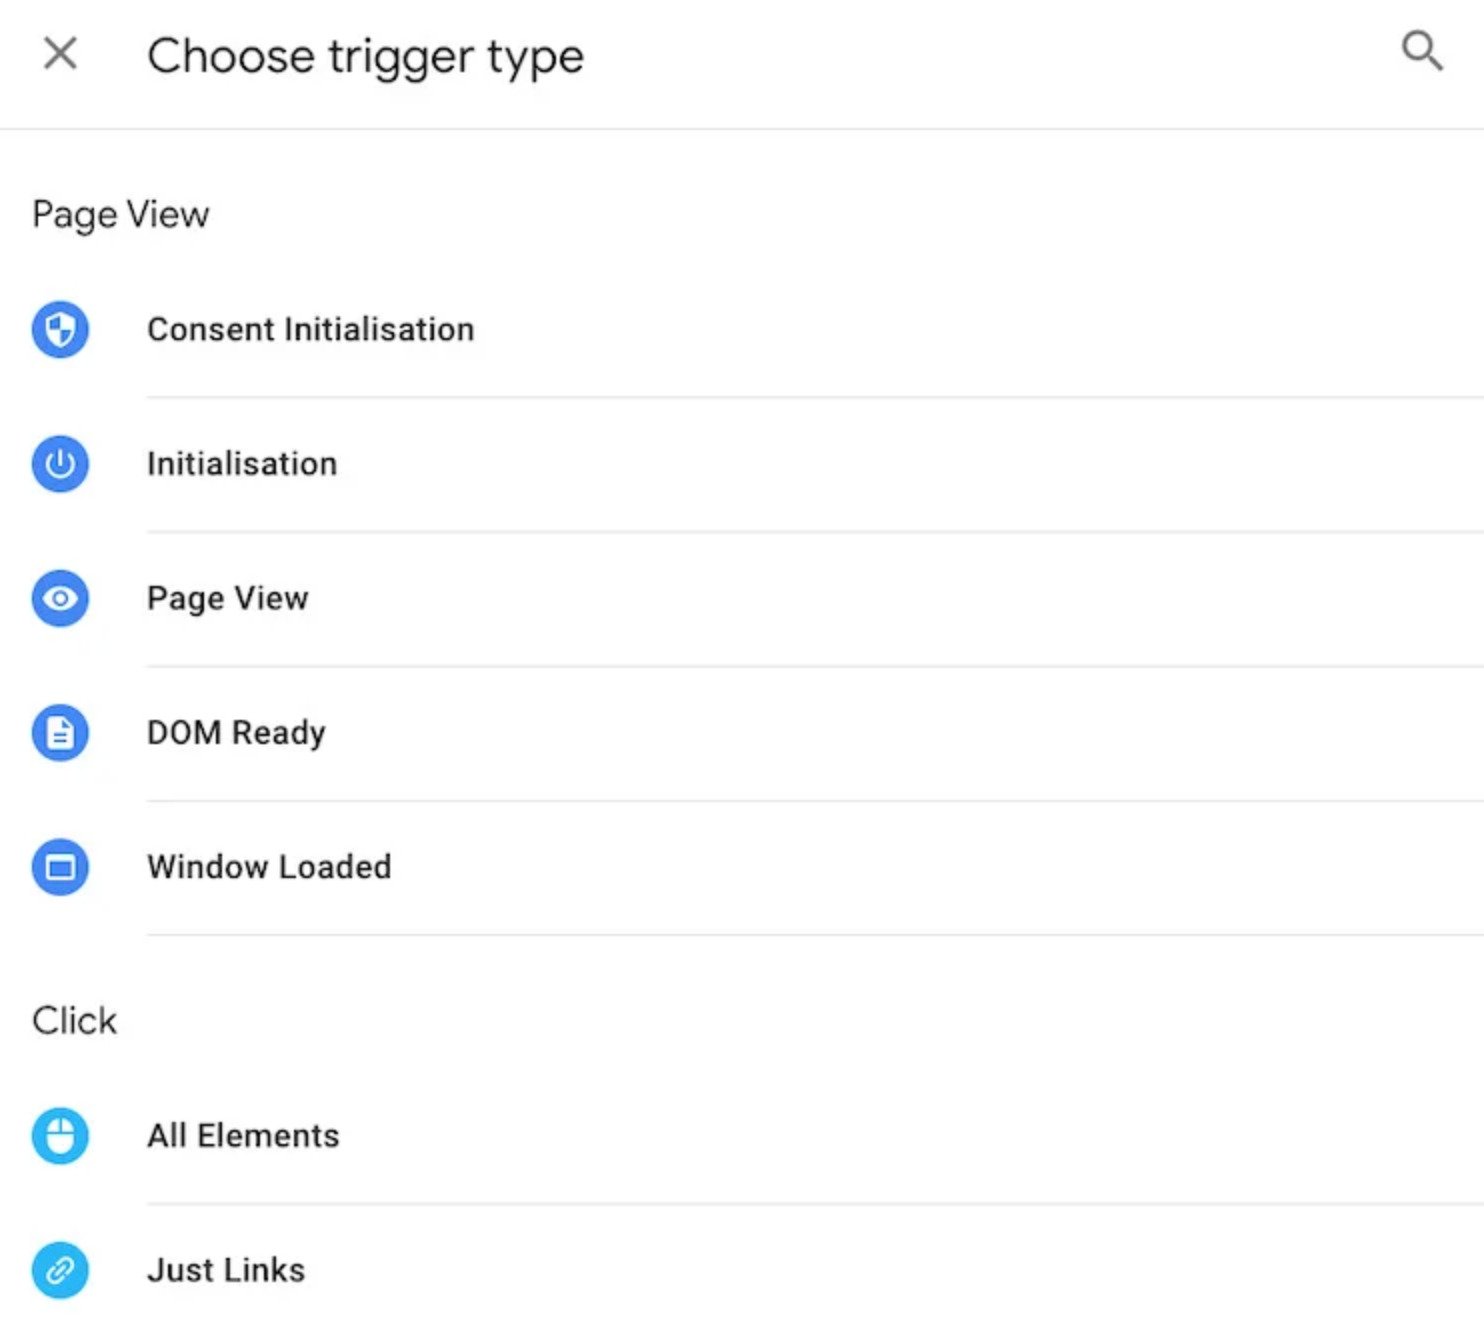
Triggers
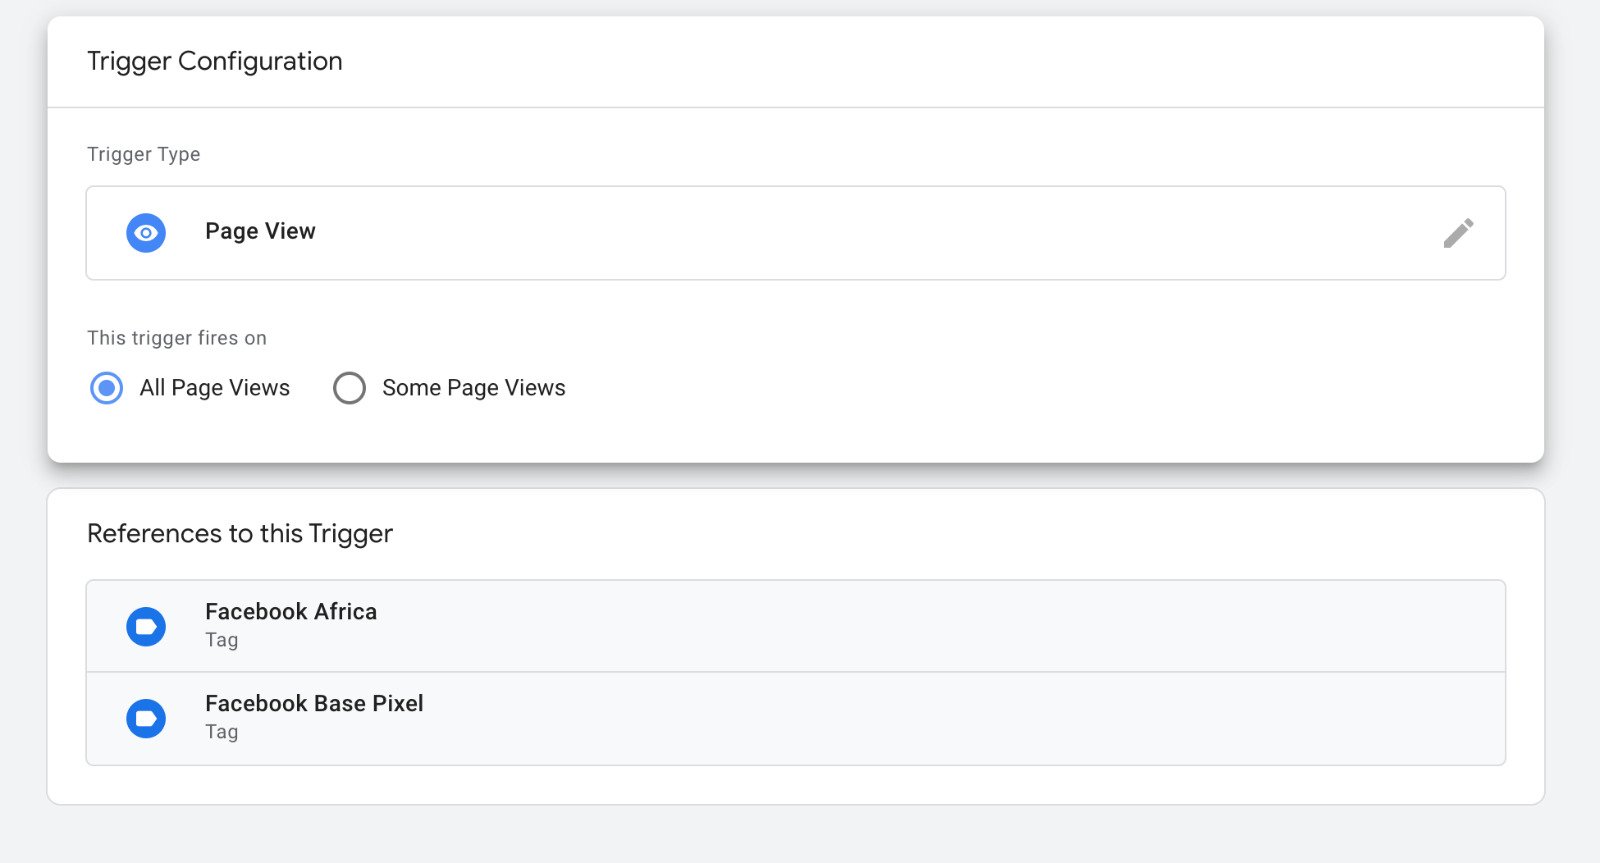
Triggers determine when, where, or how a tag should be fired. They define the specific action or condition that will activate the tag.
Common triggers in Google Tag Manager include:
- Pageviews
- Link clicks
- Form submissions
- Scroll depth
- Custom events
Variables
Variables are additional information that GTM uses to ensure the tag and trigger work properly. They can capture dynamic data that needs to be sent with the tag.
Examples of variables in GTM could be page URLs, click text, or form submission details.
GTM simplifies tracking by offering pre-built tag templates, point-and-click triggers, and built-in variables, allowing users to set up tracking quickly from a single visual interface. Tags, triggers, and variables are stored within a container, essentially a central place for all your tracking setup.
Google Tag Manager vs Google Analytics
Many beginners often get confused about whether to use Google Analytics or Google Tag Manager, asking which one is more important. The answer is simple: both. These tools serve different purposes and work together. Google Analytics is used for collecting visitor data and generating reports, while Google Tag Manager is responsible for activating tools like GA4.
In short, Google Tag Manager helps you manage various JavaScript tracking codes (also known as Tags) on your website, with the Google Analytics tracking code being one of those tags.
Top Benefits of Google Tag Manager (GTM)
While GTM requires some technical knowledge, its advantages make it an invaluable tool for marketers, saving both time and resources. Plus, it's free!
Here are the main advantages of using Google Tag Manager:
Centralized Tag Management
Before GTM, tracking tags were directly embedded into a website’s source code, often scattered across different files. Making changes would require developers to find, update, and potentially fix errors in these scattered snippets. GTM simplifies this by allowing all your tags to be controlled from one place, reducing errors and streamlining the process of updating and managing tags.
Fast Deployment of Tracking Codes
In the past, you'd need to wait for a developer to implement your tracking codes, which could take days or even weeks. With GTM, you can often implement the codes yourself, without needing to modify your website’s source code.
Easy Tool Configuration
GTM simplifies adding tracking tools and tags to your website with code snippets or pre-built templates (such as for Google Analytics, Google Ads, Pinterest, and more) available in the Community Template Gallery.
Easy Event Tracking
Tracking events such as clicks, form submissions, and more used to require custom JavaScript code written by developers. GTM simplifies this with auto-event tracking. Once you enable a trigger, it automatically listens for certain website interactions (e.g., link clicks, and form submissions). While some setup is still required, the process is much easier compared to writing JavaScript from scratch. Furthermore, the GTM community continues to develop more features, including tracking interactions with video players and other advanced events.
Customizable Data for Analytics
GTM allows you to customize the data being sent to Google Analytics and other platforms, giving you more control over what you track and how it's reported.
Testing and Debugging
GTM preview and debug mode enable you to test updates before sending them live. This reduces bugs and the frequency of testing on staging or live environments.
Decreased Developer Dependency
GTM decreases the dependency on developers for tracking tag addition or changes, giving marketers the power to control tracking setups by themselves. Google Tag Manager (GTM) is a free application that allows you to manage and roll out marketing tags (tracking pixels or pieces of code) on your website without having to make changes to the website's code.
Versioning
Every time you publish changes, GTM logs a new version of your code. You can view past and current changes and easily revert to previous versions if necessary.
Should You Use Google Tag Manager?
Absolutely, yes!
Even if you're not very technical or have limited resources, GTM is a great tool for adding and managing website tracking and analytics codes. It allows you to make changes without having to change your website's source code, which reduces the burden on developers and minimizes the risk of site-breaking errors.
But GTM has a learning curve, and proper setup is important. When it's live, GTM will make you more efficient and give you more control over your tracking configuration, so don't be afraid to take the time to learn it.
How to Create a Google Tag Manager Account
1. Sign In to Google Tag Manager
Go to the Google Tag Manager website and sign in with your Google account. If you're already logged into Gmail, Google Ads, or Google Analytics, you will automatically be signed into Tag Manager. If you don't have a Google account, you'll need to create one.
2. Create a GTM Account
- Click on the Create Account button.
- In the Account Name field, enter your business or client's name (for agencies, it’s best for your client to create the account and share access).
- For Container Setup, enter your website name or domain (e.g., mywebsite.com).
- Choose the Web platform (for web tracking).
- Click Create to finish the account and container setup.
3. Understand GTM Setup
- Account: Represents your business or client.
- Container: Represents the website or app you want to track. A container holds all your tags, triggers, and variables.
- A single container can be used for multiple websites if their structure and tracking needs are similar.
How to Install Google Tag Manager on Your Website
1. Get the Installation Codes
Once your container is created, you’ll receive two code snippets:
- First Code: Place this snippet as high as possible in the <head> section of your website’s HTML.
- Second Code: Place this snippet right after the opening <body> tag.
If you're not familiar with code, ask a developer for help.
<!-- Google tag manager -->
     <script>(function(w,d,s,l,i){w[l]=w[l]||[];w[l].push({'gtm.start': new Date().getTime(),event:'gtm.js'});var f=d.getElementsByTagName(s)[0], j=d.createElement(s),dl=l!='dataLayer'?'&l='+l:'';j.defer=true;j.src= 'https://www.googletagmanager.com/gtm.js?id='+i+dl;f.parentNode.insertBefore(j,f);
 })(window,document,'script','dataLayer','YOUR-GOOGLE-TAG-MANAGER-ID');</script>
   <!-- Google tag manager -->
2. Using WordPress?
If you're using a content management system like WordPress, there are plugins (like GTM4WP) that simplify the installation and provide additional tracking features.
How to Check if Google Tag Manager is Working?
1. Preview and Debug Mode
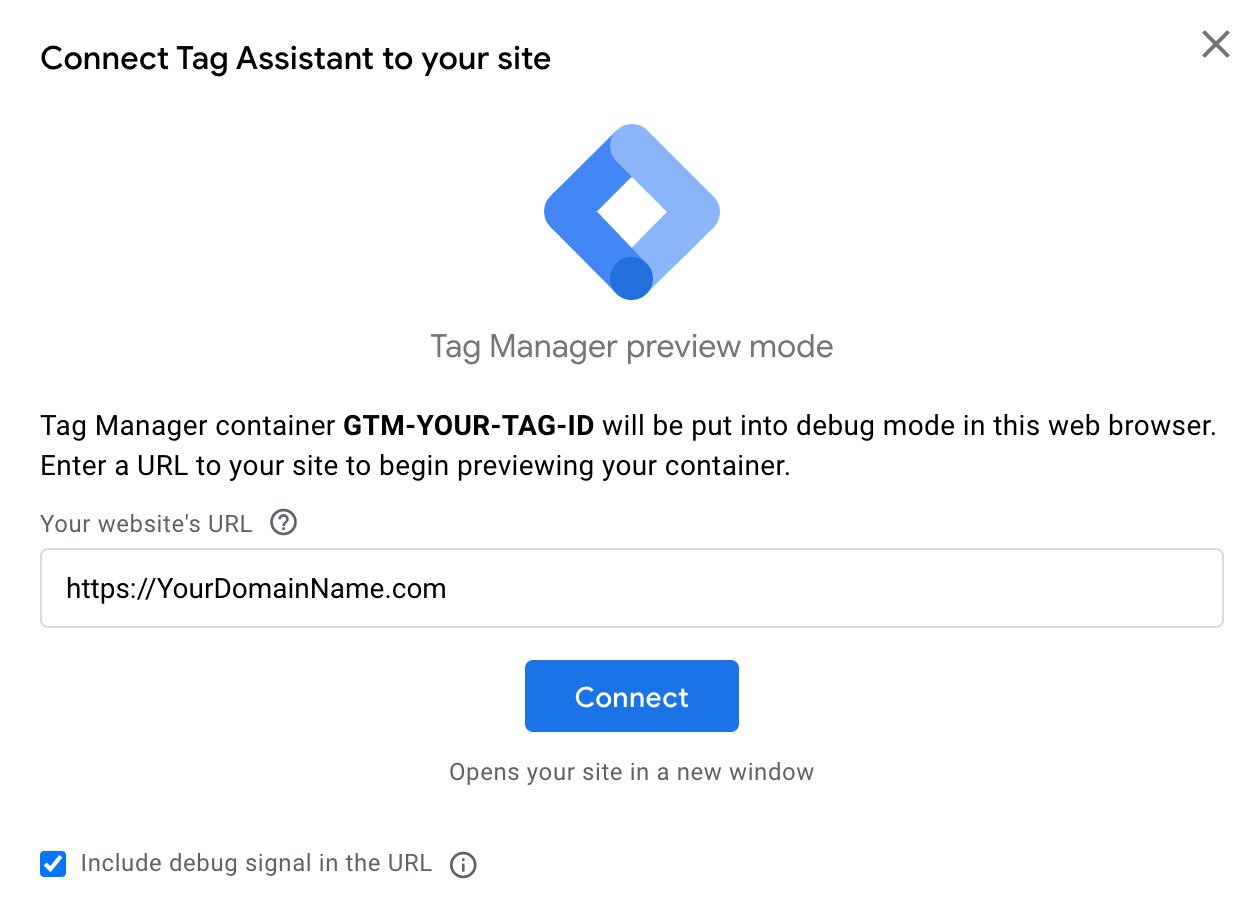
After installing the GTM code, ensure it's working by enabling Preview Mode in GTM:
- Click the Preview button in the top right corner of the GTM interface.
- Visit your website, refresh the page, and check if the GTM Preview Mode appears at the bottom of the page.
2. Other Options
You can also use other debugging tools like Tag Assistant or manually check the page source code to confirm that the GTM container is properly installed.
Creating Your First Tag in Google Tag Manager (GA4 Setup)
1. Set Up Google Analytics 4 (GA4)
- Go to Google Analytics and create a new property for your website.
- Enter the website name, country, time zone, and currency.
- Select Web Stream and enter your website URL. Enable Enhanced Measurement to track common events automatically.
- After creating the stream, copy the Measurement ID (this is your tracking ID).
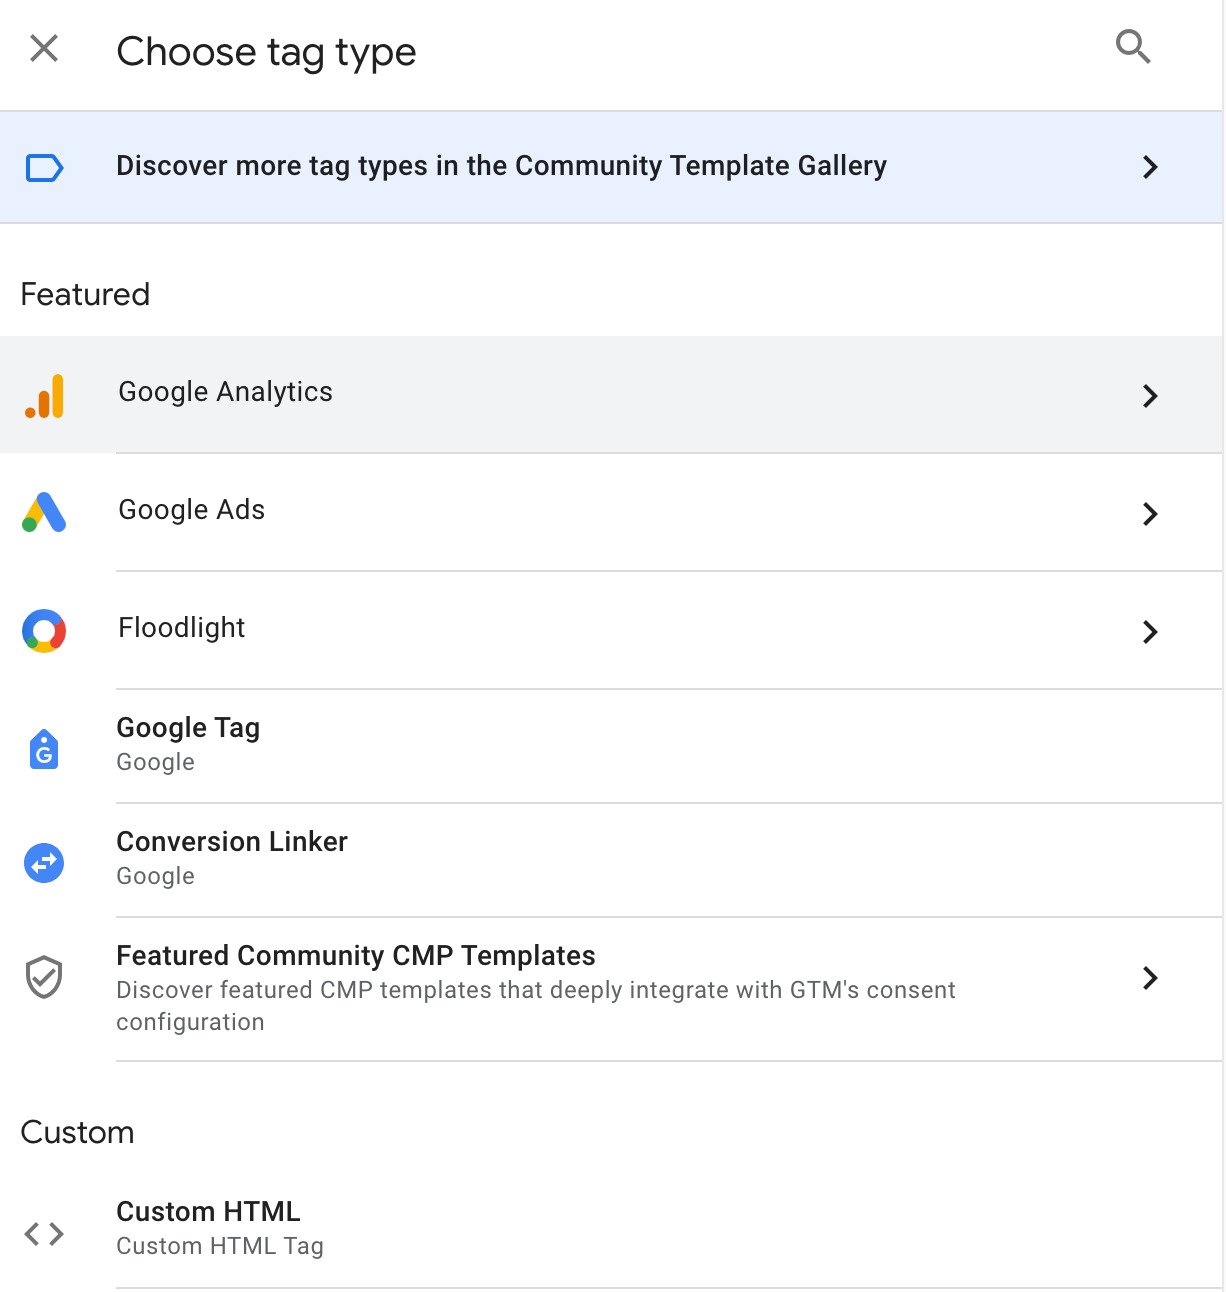
2. Create a New Tag in GTM
- In Google Tag Manager, go to Tags > New.
- Choose Google Analytics: GA4 Configuration.
- Paste the Measurement ID you copied from GA4.
- In the Triggering section, choose All Pages so that the tag fires on all pages of your website.
- Name your tag (e.g., "Google Tag – [Measurement ID]") and save it.
Testing with GTM Preview Mode and GA4 DebugView
1. Test Using GTM Preview Mode
- Enable Preview Mode in GTM and enter the website URL to see if the tag fires.
- Ensure that the Tag Assistant shows your tag firing correctly.
2. Check-in Google Analytics 4 DebugView
- Go to GA4 Admin > DebugView.
- When using GTM’s Preview Mode, your data will automatically show in the DebugView.
- In DebugView, you can inspect events and parameters to ensure the data is reaching GA4.
Publishing Your Google Tag Manager Container
1. Publish Your Changes
- Once everything is configured and tested, click the Submit button in GTM.
- Add a Version Name and Version Description (helpful for tracking changes over time).
- Click Publish to push the changes live to your website.

2. Track Data
After publishing, your tags will start firing, and you’ll begin tracking page views and other events (if you enabled Enhanced Measurement).
By following the above steps, you’ll have Google Tag Manager installed, your first GA4 tag set up, and your tracking data properly configured for analysis.
Overview
Google Tag Manager is a useful tool for managing tracking codes and monitoring user actions on your website. It makes the process simpler, cuts down on the need for developers, and lets you easily update and track data. Even though there’s a bit of a learning curve at first, GTM is an important tool that can help improve and optimize your online marketing efforts.


